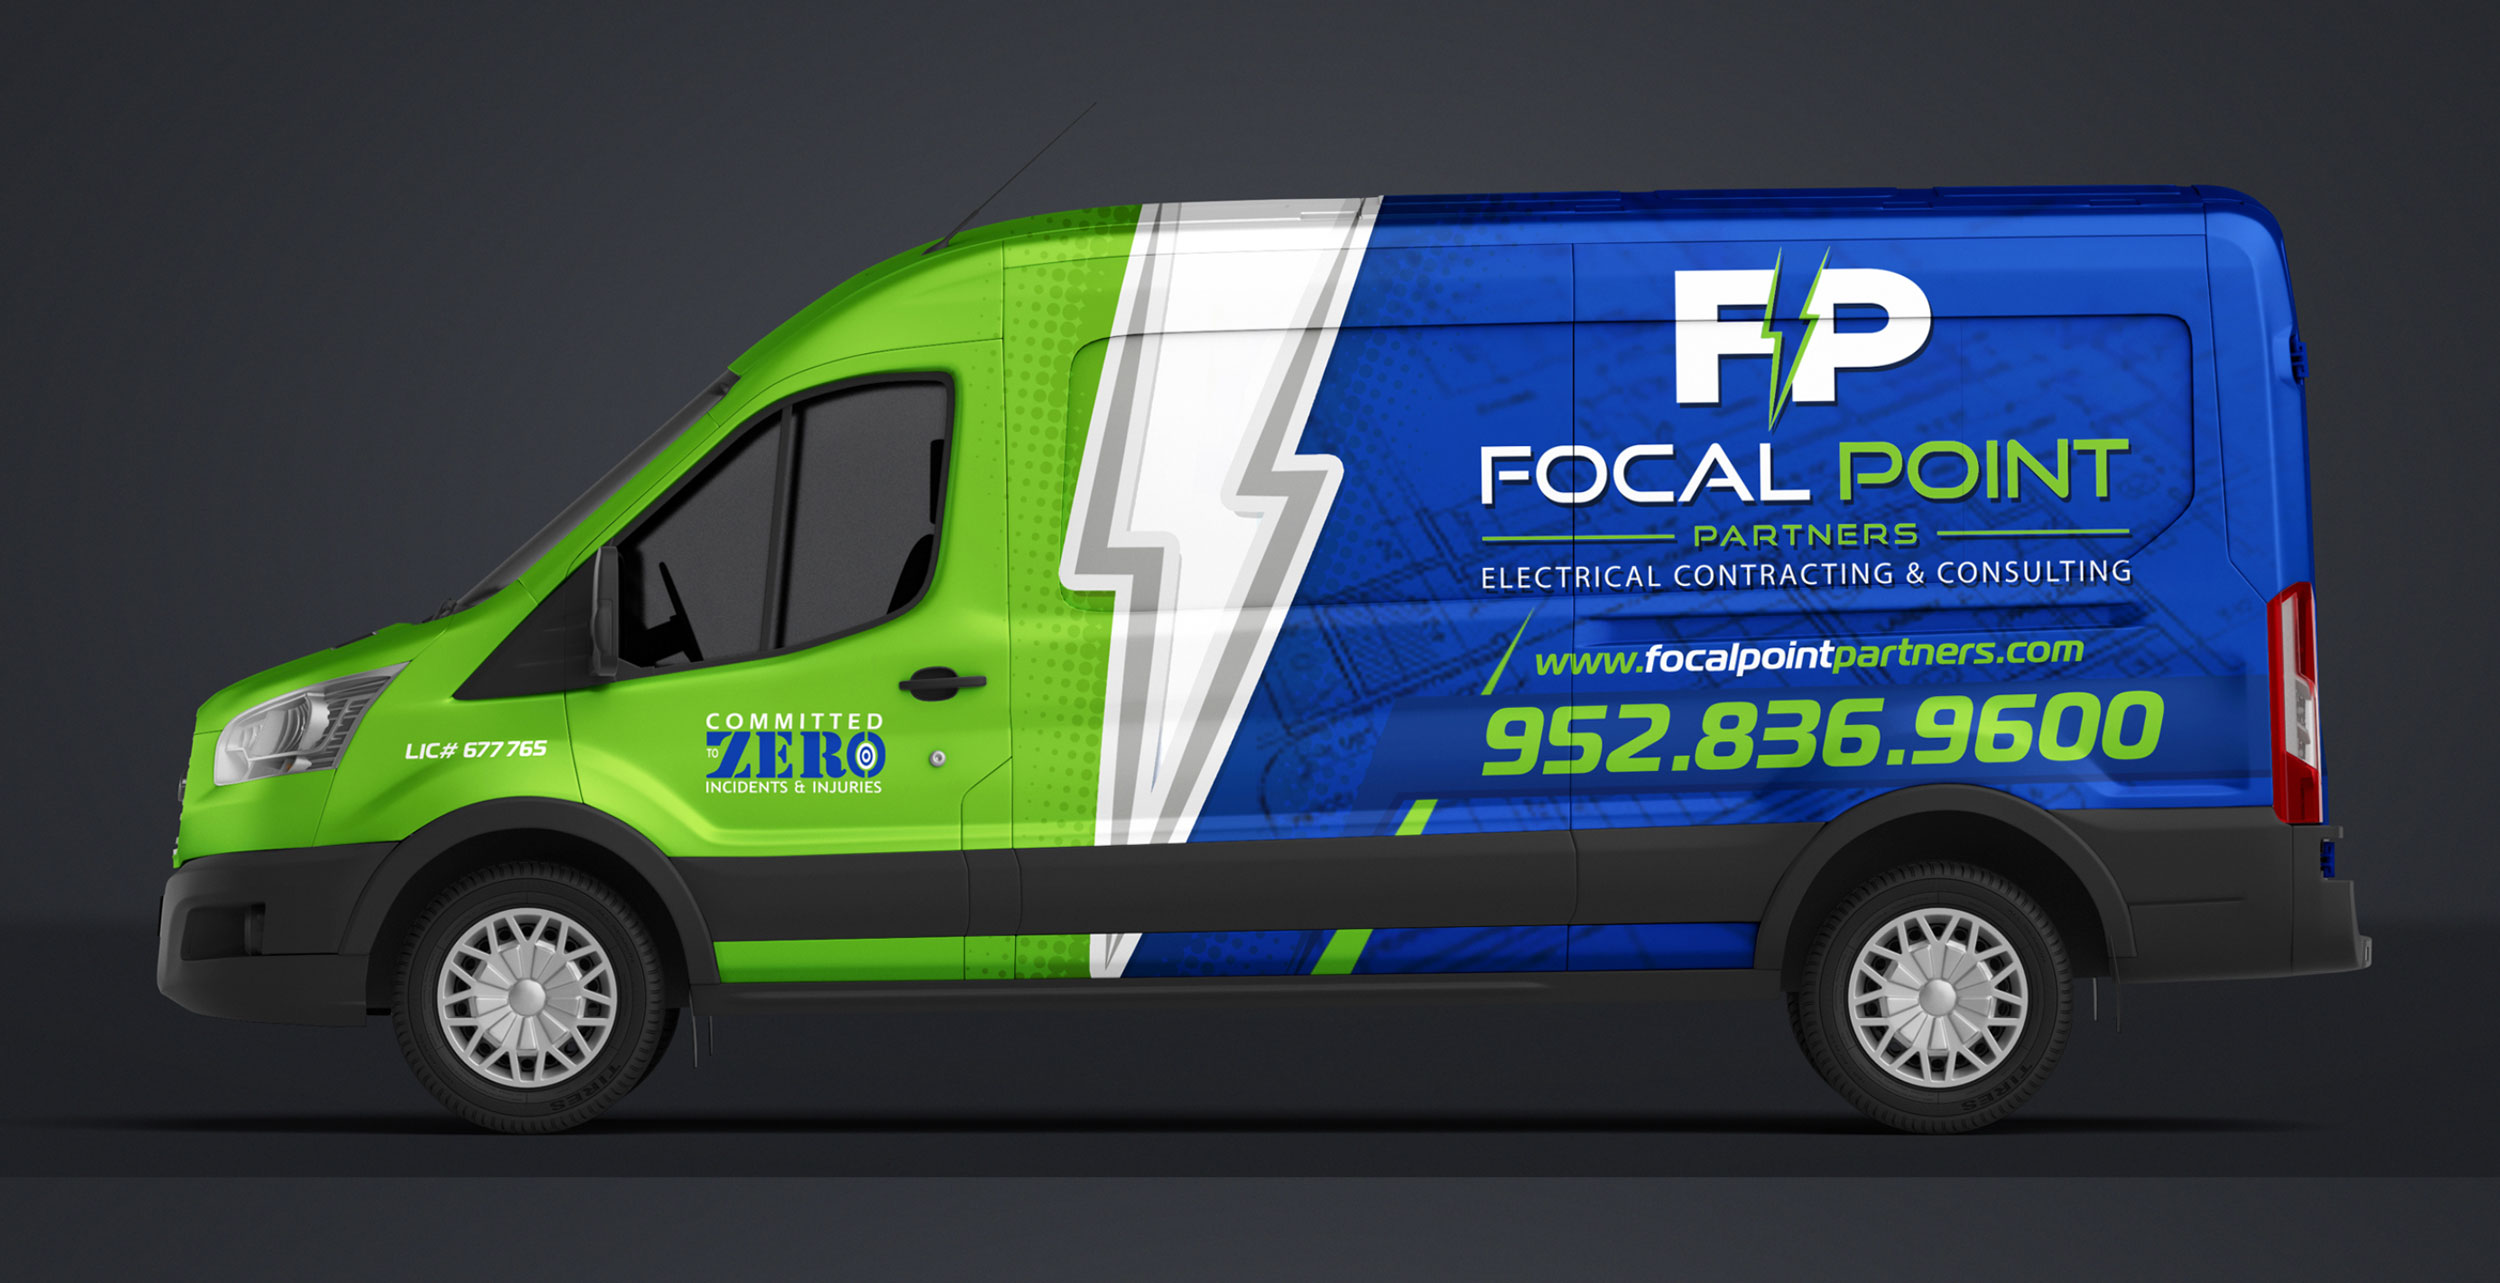
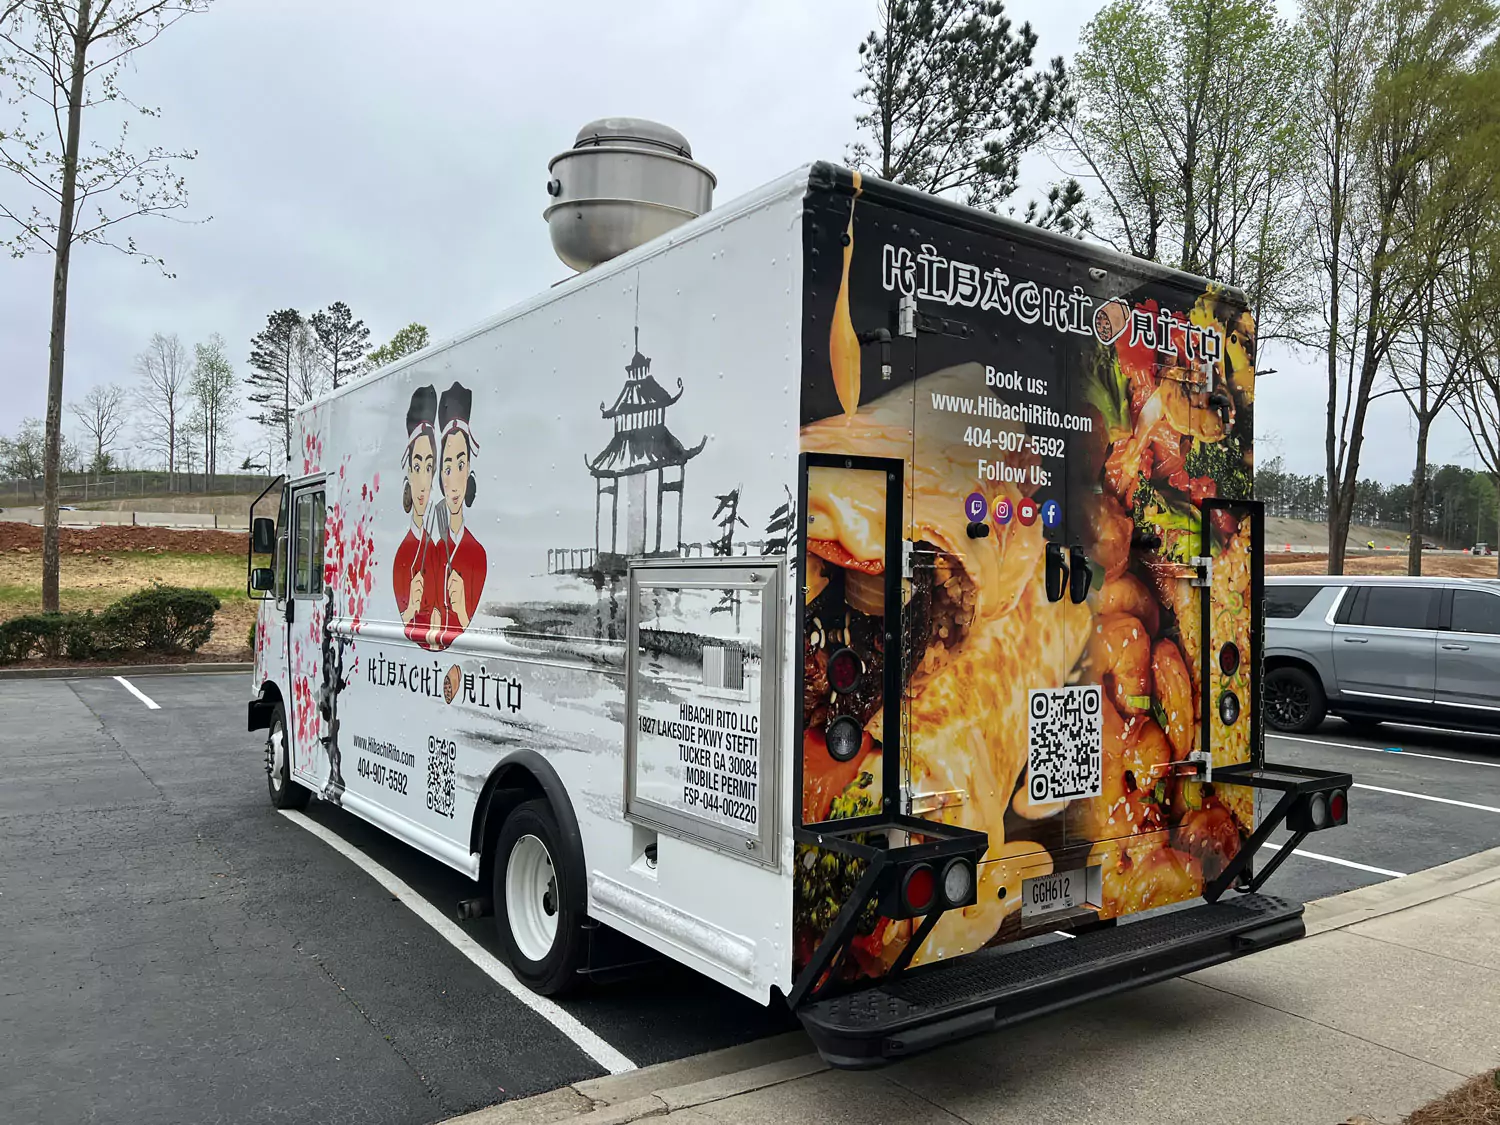
Vinyl wrapping a car is a process that involves applying a thin, adhesive-backed vinyl film to the exterior surfaces of the vehicle. This can be done for various reasons, such as changing the color of the car, protecting the original paint, or adding custom graphics. Here’s a general guide on how to vinyl wrap a car:
Gather your material and tools:
- Choose a high-quality vinyl wrap film in the color or design you desire. Make sure it’s automotive-grade for durability. Avery Dennison, 3M, and Arlon are all reputable brands.
- Isopropyl alcohol or a vinyl wrap cleaner to clean the car’s surface thoroughly. Cleaning and preparing the surface is crucial for a successful installation.
- Microfiber cloths for wiping and drying.
- Heat gun or infrared heater for stretching and conforming the vinyl.
- Squeegee for smoothing out the vinyl and removing air bubbles.
- Precision knife or razor blades for cutting the vinyl.
Preparation:
Clean the surface: Wash the car thoroughly to remove any dirt, grease, or wax. Use isopropyl alcohol or a vinyl wrap cleaner to ensure a clean surface.
Remove Parts: Consider removing parts like door handles, mirrors, and emblems for easier wrapping. Alternatively, you can choose to work around them.
Application:
Measure and cut the vinyl wrap to fit the specific panel or section of the car you’re working on, leaving a few inches of excess on all sides.
Peel and Stick: Peel a small section of the backing off the vinyl and carefully apply it to the car’s surface. Use your hand to smooth it out and prevent air bubbles.
Squeegee and Stretch: Use a squeegee to smooth out the vinyl, starting from the center and working your way outward. If the vinyl needs to stretch to fit curves or contours, use a heat gun to make it more pliable.
Trim Excess: Use a precision knife or razor blade to trim the excess vinyl along the edges of the panel. Be careful not to cut into the car’s paint.
Repeat: Continue these steps, working on one panel at a time, until the entire car is wrapped.
Helpful tips:
Sealing Edges: Use a heat gun to warm the edges of the vinyl and press them down for a secure seal.
Controlled environment: It’s highly recommended to work in a controlled environment to ensure proper adhesion. Choose a clean, dust-free environment to minimize the chances of debris getting trapped under the vinyl and avoid working in direct sunlight.
Take Your Time: Patience is key. Rushing can lead to mistakes, air bubbles, and a less-than-professional finish.
Use Heat Wisely: Heat is essential for stretching the vinyl, but too much can cause damage. Keep the heat gun at a safe distance and on a low setting.
Practice on Small Areas: If you’re new to vinyl wrapping, practice on smaller, less visible areas before tackling larger sections. Keep in mind that vinyl wrapping requires skill and attention to detail. If you’re unsure about your ability to complete the job, it’s advisable to seek professional help or attend workshops to learn proper techniques.


